Monday, April 25, 2011

Glazes and the Craigslist mold adventure.


Well, the guessing game is over. My pieces have been fired in the kiln, and I was surprised by some results, and of course mostly disappointed with the rest, which is why I have decided to move onto working with under glazes, and stains for a while. I only have a couple of pieces that I took pictures of the finished product. The rest have been packed up in a box for future refirings, or whenever I get around to them again.

I ran into a bit of a surprise this past week. I was reading up on a tutorial on Ceramic Daily Art’s site about using slip casting molds as push and peel molds with stained clay. I was intrigued, so I went about on Craigslist to see if anyone was getting rid of their surplus of ceramic molds, and boy was it my lucky day. I’m used to seeing ceramic molds on Craigslist, but they usually are around 10-15 molds, and the seller usually wants over $100 for the whole bulk lot, which I usually shake my head and say, “Oh well", and pass on and wait for something better.

I got lucky last week. I found a guy in New Albany whos Dad used to run a ceramic slip manufacturing company and he was posting on Craigslist trying to get rid of the vast amount they had accumulated. In fact, the pictures he posted did no justice. The guy had literally a small hardware store sized barn full of racks and racks and RACKS of ceramic molds and was only asking for a mere $20 per four shelf rack. So, I was running away with these $17-$100 a piece molds for a damage of $40 at the end of the evening. I managed to make out with around 35-40 molds.


(RIGHT PICTURE: Our newly found treasures. )


I felt like I was on American Pickers, rummaging through this old man's collection of molds. He must have had around a couple thousand of molds. I was like a kid in a candy store as my husband pulled me away from the racks and racks of molds. The guy’s son told me about when business was booming, and the processes they went through to make the ceramic slip. They were extremely friendly and helpful, which is something that's hard to come by on Craigslist with the "Buyer beware" mentality.

The trip was successful as I got what I was wanting. I was able to find a teapot mold AND a separate mold for tea pot spouts and tea pot lids. <-- (My absolute worst enemy) Also, I was able to locate a lot of plain molds for plates, vases.. etc.


So there was much shuffling around, cleaning, fighting off black widows and organizing in the basement at the Houston House, and I used some empty shelves in the basement to house my small collection, because I know I’m not going to use all of them, so I figured they’d work out good for maybe a future class, or if someone else enthusiastic such as myself drops by the art league.
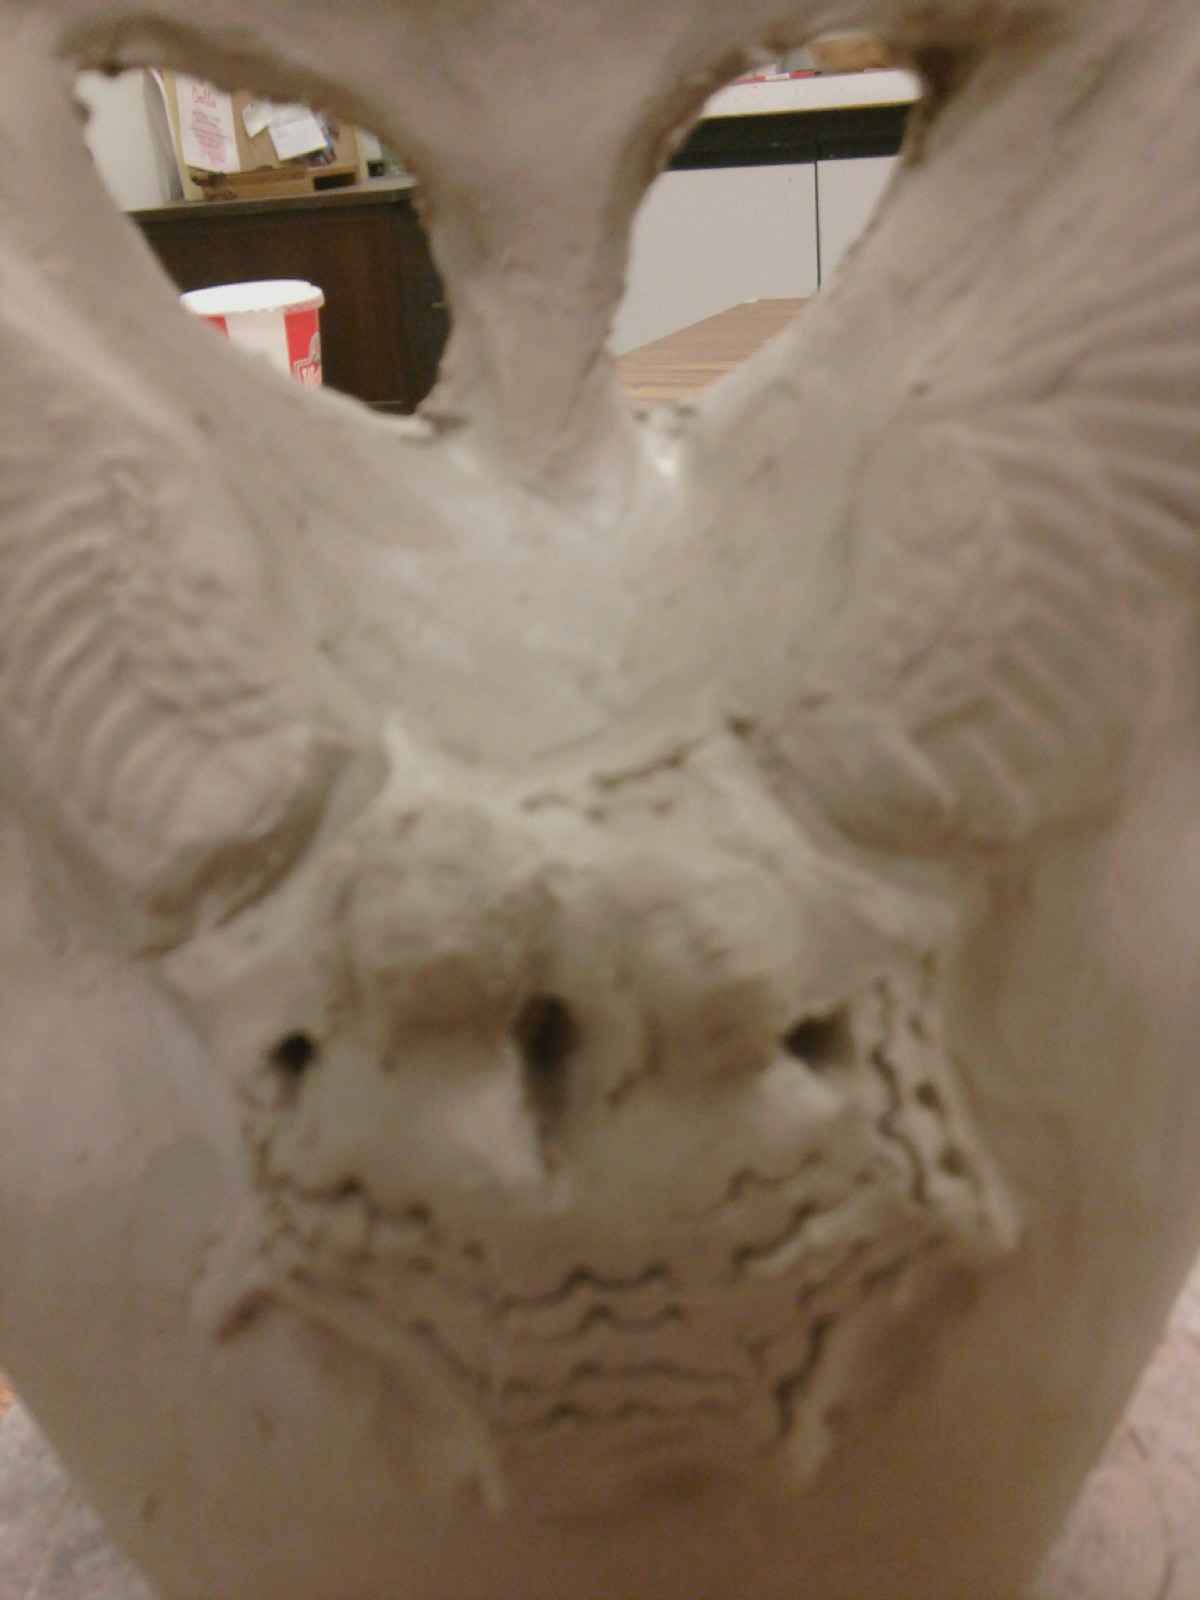
(RIGHT PICTURE: A 1960's lamp Crest mold we snagged.)


Speaking of the Houston House, I must be doing something right, because I have been asked by some of the ladies to teach a ceramics class, and don’t let my timid outward appearance and emotions fool you, I am E-X-C-I-T-E-D!


This will also give me an excuse to order some Speed Ball ceramic underglazes for me to test and for the class, as they are easier to paint with and not as much of a hassle as my experience with Stoneware glazes. I've used SpeedBall Stoneware, and underglazes. I wasn't impressed with the Stoneware Glazes they produce as they look very opaque, and look much like you tried to color your piece with a permanant marker. However, I was told the underglazes they produce with a stoneware top glaze usually turn out flawless.


Happy Trails until next time!

Thursday, April 14, 2011

Guessing Game.

I'm hosting a guessing game for the next pieces I'm going to show. These pieces have been glazed in a couple of glazes, and are waiting to be fired in the kiln. Take a look at them, and decide what color they're going to turn out, and you'll see the finished product most likely within next week sometime.
I think most of you will be surprised at the outcome.


These next pieces have a concoction of ceramic slip and black pigment, or stain as it's called in the ceramic world.

And finally, a new piece called "The Heartstrings that bind us together."


Wednesday, April 6, 2011

Hi, Mom and anyone else who stops by!

This post is for mah Momma, so she can see my work.

I guess everyone else can look too. ;-)

Sitting lady with Calla Lily hat.


Small handled cup Tea-pot in progress Tea-pot lid


Tri leg mug Small vase w/ relief carving


Punk vase/Carving Flower pot


Mini Houston House Backside small female bust Frontside


Calla Lily Basket


Slip Cast Ash Tray

Stacking tea-cups (Duo piece) Thirsty Cat in a teapot (Duo piece)


Square mug (boring)
Plate etching of a Beardsley print.

Abby (Little Black Dog)

Octopus bowl

Swallow w/banner business card holders

Holland Leaf mold Holland Vase mold


Bottle Cap Wisdom

Hey Everyone, Double post today! How exciting!!


It’s interesting when you clean out a ceramics cabinet that probably hasn’t been touched since 2009. It’s interesting in a sense, because you get a feel for the person who was teaching before you came along and reorganized their happy and just fine mess.


It’s amazing what kind of items were brought in to teach textures. I kept running into pieces of slate, porous uneven stones, combs, bottle caps, pieces of bark, even a couple of forks. I kept them all, but took an interest in the metal bottle caps. I never really thought of using the bottle caps as a texture, but in a couple of pieces I tried them out and experimented around.


There has also been a small inventory of slip casting molds that have been found around the Houston House. I’ve been using the molds for slip casting, which works like this:


You have a plaster mold, often in two (or more) pieces. Then you have Slip, which is nothing more than watered down clay with a few more added ingredients that’s been sifted a few times. The plaster mold is able to grab onto the slip after it is poured in, because the plaster soaks up the slip almost like a sponge, and once it reaches it’s limit, then it begins to solidify, so that huge puddle of slip you just poured in, now has been sucked into the mold, leaving a hollow casting inside the mold.


It’s a magnificent thing.


Anyways, this entry isn’t about molds, but I wanted to share for those scratching their heads when I said, “Slip casting molds.” I’m able to use some of the molds as a push and peel mold, which work out quite nicely for some unique pieces with some smaller details.


My first piece was a slab built vase, which the base of it was cut wrong, so it looks a bit like a deflating fish, so I’m not too crazy about it, but it has some of the bottle cap textures to it.


I was really pleased with the second piece, which is a pinch pot that has been folded in the middle to create two spouts. Unfortunately, as I am writing to you, the other night after it was set out to dry, I came in to find a HUGE crack down the top from spout to spout, so the tiny handle is gone, and I’m going to try and mend the crack with some stoneware slip this weekend since the piece is still in the leather hard stage.


So, it figures that my favorite pieces tries to bite the dusty garbage bin before it's full potential is fired out in the kiln.


Thankfully, I have a whole brand new 50lb box of clay, so there's no tears here.

Let's talk about Stoneware Glazes, Baby!

Glazes can be either the most nerve racking, or the most joyous, icing on the cake part of ceramics. I have a love hate relationship with glazes… mostly one of hate. Besides learning how to fire a manual kiln, glazing has been one of the most headache inducing experiences of my short life in ceramics. You have Low fire glazes, high fire glazes, mid range glazes, under glazes, over glazes, stoneware glazes, porcelain glazes, and probably some specified formulas for earthware glazes. I’m going to be talking about Stoneware glazes, since it’s what I’ve primarily been using. *STONEWARE GLAZES: WHY THEY'RE A PAIN IN THE BUTT

  • Stoneware glazes are notorious for running when fired, so if you soak your piece, or if you pour too much glaze on your piece for too long when you are glazing, then chances are you’ll be chiseling your piece off a kiln shelf. This happened with a very ugly, pea soup green mug of mine. I should have just left it as a permanent fixture of profound glaze ugliness.

  • Stoneware pieces that have been bisque fired are extremely pourous and like to soak up glazes like an extra strength paper towel.


  • **For the lucky jerks who have pre-programmed settings on their kilns they don’t have to worry about this next part.**

  • Stoneware glazes usually will turn out much better if they soak in the kiln, or in other words, instead of just placing your kiln setter and running away, most personal glaze recipe authors recommend you keep the kiln on high for an extra 15 minutes, or even to an hour, so that the piece can make sure they reach the full potential of the glaze color.


  • The bad side: if you overfire you risk your pieces being pitted, cracked, crazed, or the glaze just melting off leaving blank rough spots on your pieces.
STONEWARE GLAZES: WHY THEY’RE WONDERFUL! ·

  • Stoneware glazes are some of the most durable glazes out there, and are used for more than just decoration pieces. Stoneware glazes can be used in baking dishes, drink-ware, and much more. ·

  • Stoneware glazes achieve some of the most spectacular designs and textures (besides crystallized glazes), with speckles here and there and mixed color combinations once fired. These aren’t your typical glazes that are used at the paint and bake ceramic stores in the mall.

  • · Did you mess up? Well, stoneware glazes are some of the easiest glazes to refire to try to achieve the color you were looking for.

  • · Stoneware glazes can be applied in multiple ways. They can be dipped, sprayed on, brushed on, sponged, stenciled… etc.

Unfortunately, I have a lot of bad stories when it comes to glaze rather than good ones to share, but by learning from my own mistakes, trying new things, and remembering some of the tips my teachers in the past have gave me, I think someday I’ll be one of those smug master potters you see at the craft fairs, all high on their horses, but they have reason to be proud, creative pottery is half the challenge, glazes are the other battle.

Here are two pictures of a test cup I wanted to test some glazes on. This was a prime example of how pourous stoneware bisque pieces can be in which the majority of my glaze was eaten into the piece during the firing, which is why the cobalt is so dull looking. The piece actually looks very close to a denim blue jean look. Perhaps, I've created something nice in my mistake? ;-) I should have double dipped this piece. My other mistake was a mixing mistake in which I was trying to mix a floating blue glaze on top of a cobaly blue. The floating blue obviously had some raw material that just wasn't working with the cobalt, so in return we get a rustic brown look. Far-FAR from the blue I imagined. Ah, Live and Learn. It's the official motto of pottery and ceramics.